Why Drainage Beats Tread in Obstacle Race Shoes - and How to Test It in 60 Seconds
Quick Answer: Tread decides how you move for a few minutes; drainage decides how you feel for the rest of the race. A shoe that holds water gains roughly a pound per foot, softens the midsole, and turns wet skin into blister-ready skin within about two miles. Test it in 60 seconds: fill the shoe from a tap and count how long until the flow slows to a drip. Under 10 seconds is excellent, 10-20 is workable, over 30 means you will be carrying water for the rest of the course.
Most race courses put water in the first mile on purpose. Your shoes will be wet for 90 percent of the event.
So the question is not whether they get wet - it is how fast they stop being wet.
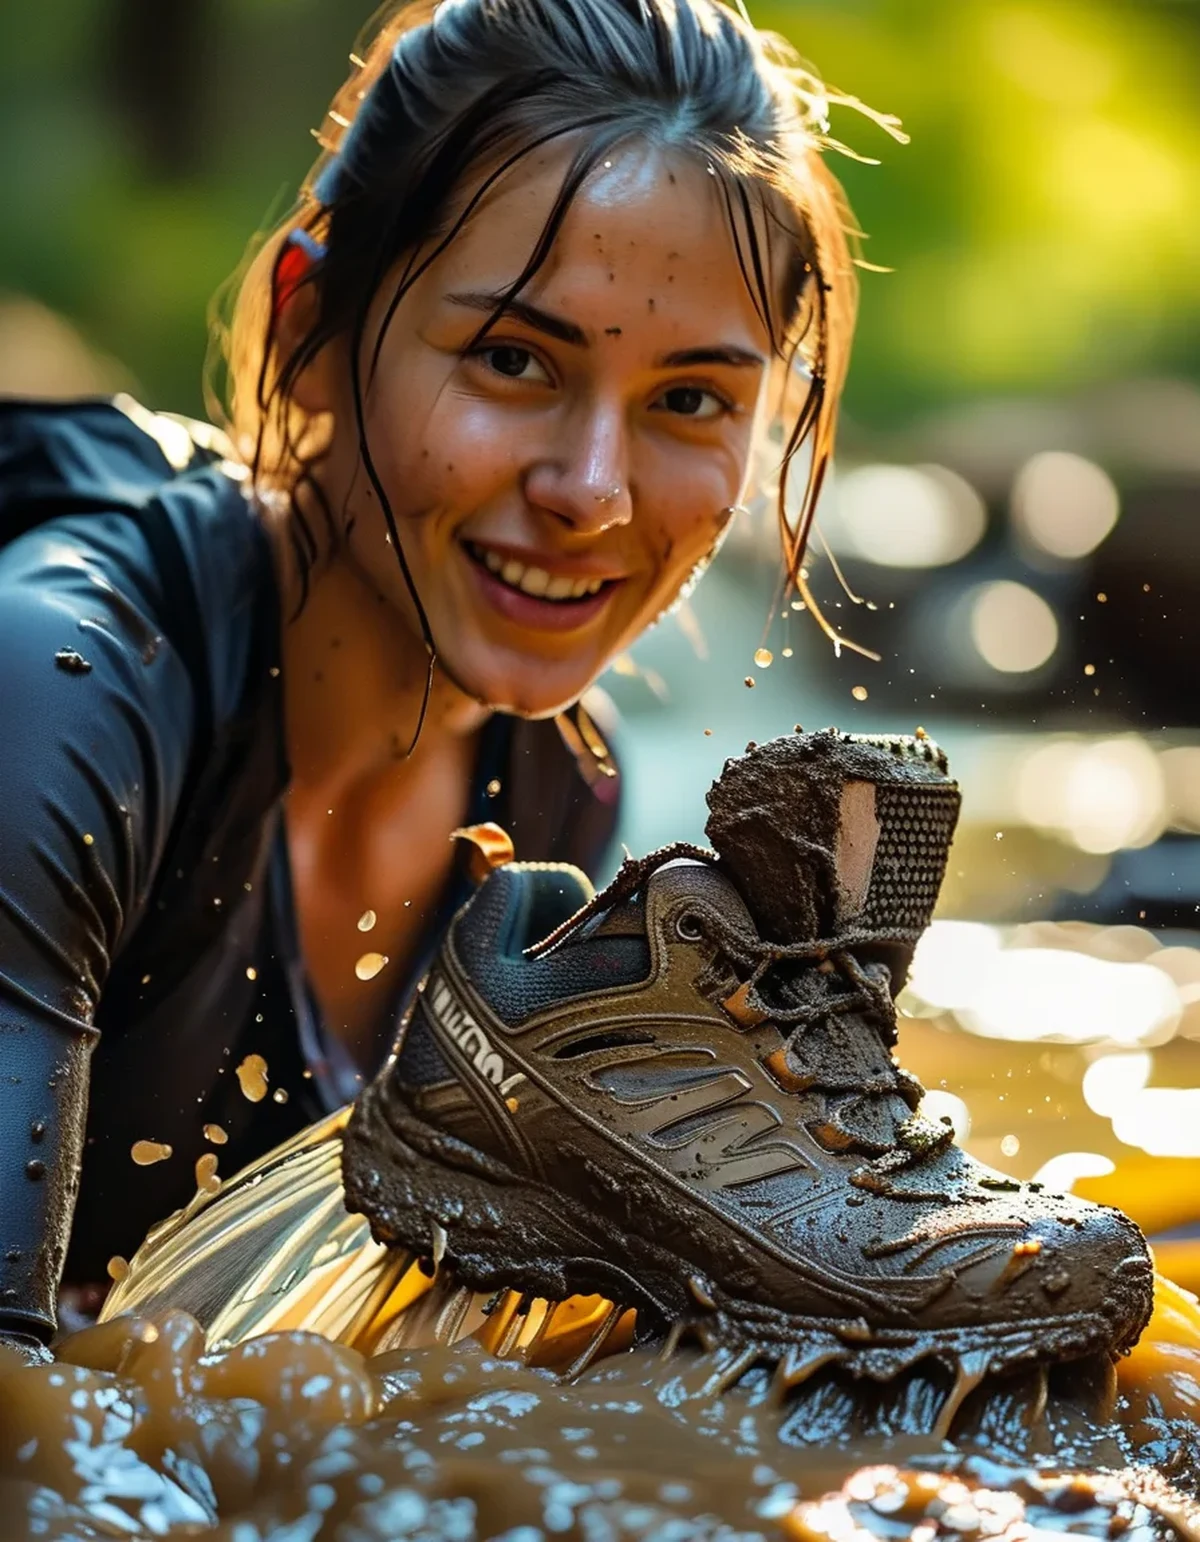
Why does a wet shoe cost so much more than it weighs?
Because the weight is at the far end of a long lever.
Weight on your foot costs several times more energy than the same weight carried on your back. Every stride accelerates and decelerates that mass at the end of your leg, and you take somewhere around 1,500 strides per mile.
A water-logged trail shoe can hold 8-16 ounces of water per foot. That is roughly the equivalent of strapping a full can of soda to each ankle for the remainder of the race.
Then there is the second cost, which is worse: soaked foam behaves differently. Wet midsole material compresses further and rebounds less, so the shoe you tested on dry ground is not the shoe you are running in after the first water crossing.
And a third: wet skin has a fraction of the abrasion resistance of dry skin. Friction that your foot ignores at mile one becomes a hot spot at mile three and an open blister at mile five. Blisters are the single most common reason people slow down in obstacle races, and they trace back to water far more often than to the shoe’s fit.
How do I actually test drainage before race day?
Do it at a sink. It takes a minute and tells you more than any review.
The tap test:
- Hold the shoe under running water until it is completely full - laces tightened as you would race them.
- Lift it out and start counting.
- Stop counting when the stream turns into individual drips.
How to read it:
- Under 10 seconds: genuinely good drainage. Ports are open and the upper is not holding water.
- 10-20 seconds: acceptable. You will carry a little water but it will clear on the run.
- 20-30 seconds: marginal. Fine for a short course, punishing over 10K.
- Over 30 seconds: the shoe is a bucket. No amount of tread compensates for this.
The squeeze test, second: with the shoe still soaked, press down hard on the midfoot. Water should come out of the sole, not just the collar. If the only exit is back out the top, the drain ports are decorative - some shoes have them molded into the outsole but never punched through.
Run the same test on the shoes you already own before you buy anything. People are frequently surprised.
What makes a shoe drain well - and what quietly blocks it?
Four things, and two of them are choices you make yourself.
Drain ports in the outsole. Actual holes through the midsole to the ground, not dimples. Check by holding the shoe up to a light and looking through from the inside.
A thin, open mesh upper. Single-layer mesh sheds water fast. Padded collars, thick tongues, and waterproof membranes all hold it.
Minimal foam volume. A thick, plush midsole is a sponge with a long drying time. Lower-stack race shoes clear water dramatically faster.
No waterproof lining. This is the counterintuitive one. A waterproof shoe on a course with water obstacles is the worst possible choice - the membrane that keeps water out also keeps water in once it comes over the collar. Which it will.
And the two self-inflicted blockers:
Thick cushioned socks. A heavy cotton or thick wool sock holds more water than the shoe does. Thin synthetic or merino blends drain and dry; cotton does neither.
Insoles that are not glued down. A loose foam insole traps a layer of water between itself and the midsole, exactly where you cannot squeeze it out. Some racers punch matching holes through the insole for this reason.
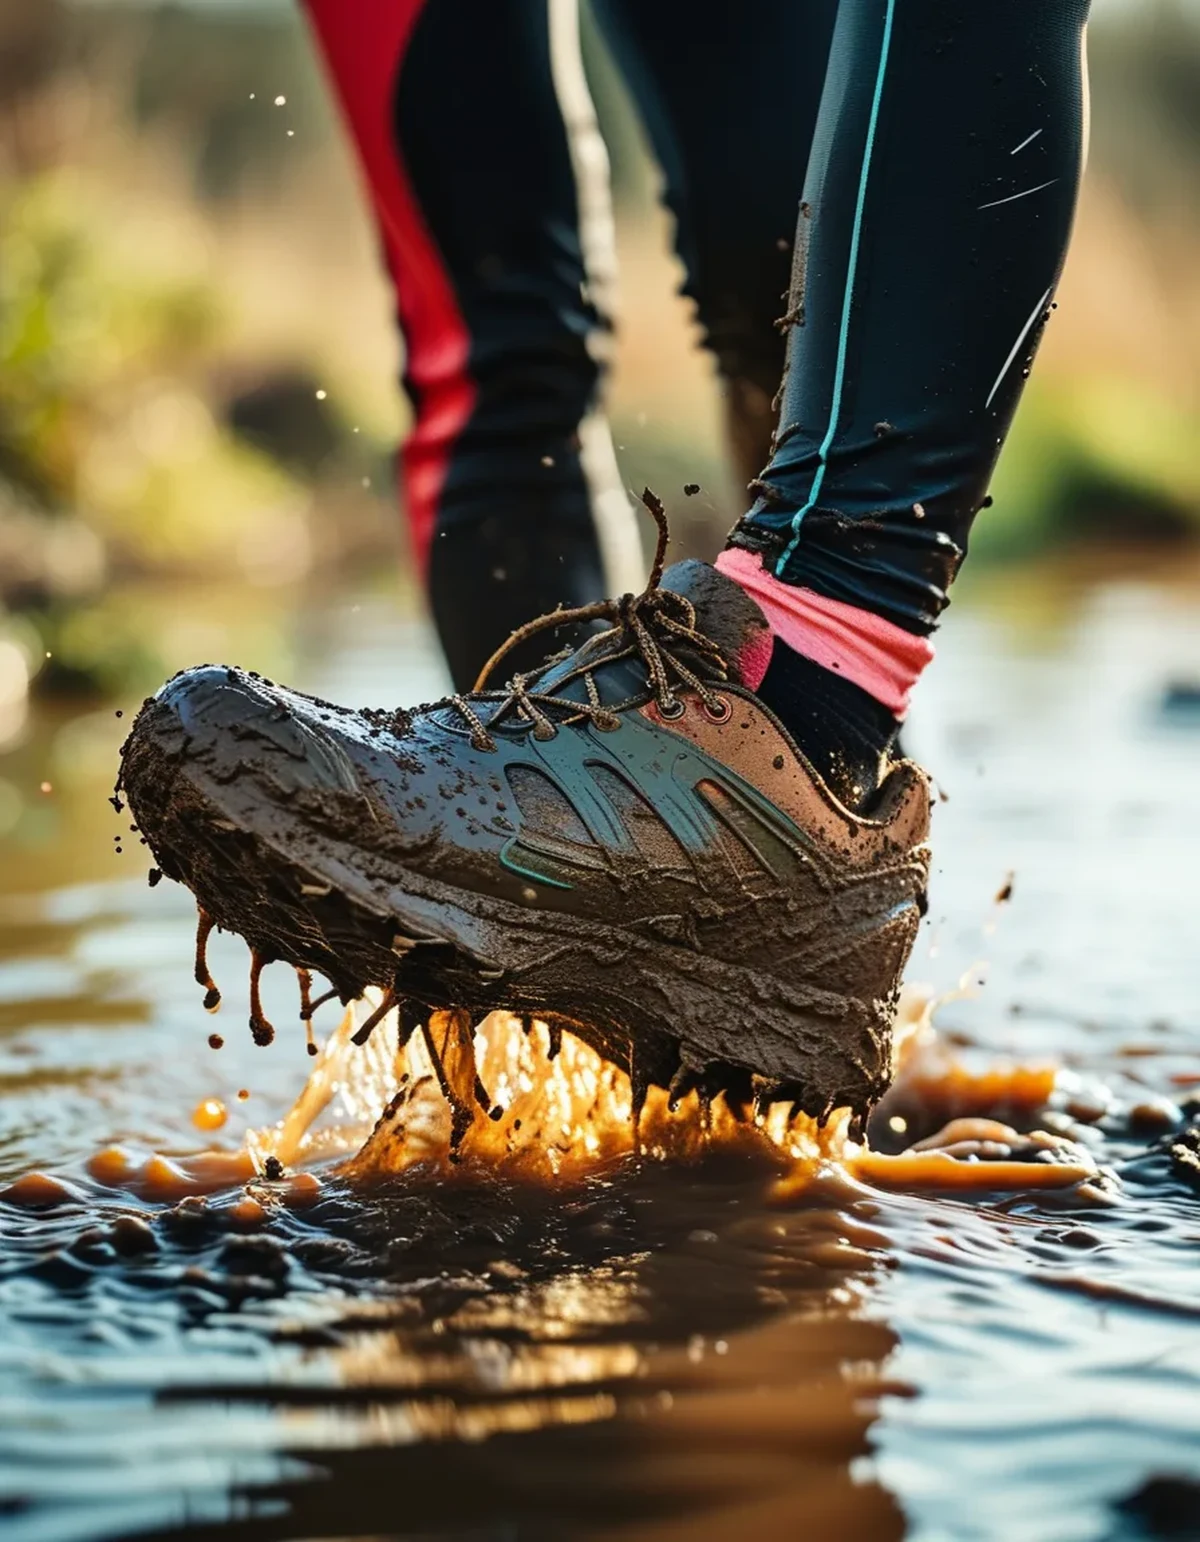
5 Mistakes Everyone Makes With Obstacle Race Footwear
1. Buying by lug depth alone. Deep lugs help on steep mud banks and do nothing on the 80 percent of the course that is grass, gravel, and pavement. Tread matters at specific moments; water weight matters continuously.
2. Wearing waterproof shoes. Covered above, but worth repeating because it is the most common expensive mistake. GORE-TEX belongs on a cold hike, not in a mud pit.
3. Racing in shoes with fewer than 20 miles on them. New foam plus wet feet plus unfamiliar pressure points is a blister recipe. Break them in, and break them in wet at least once.
4. Lacing them the same as on dry ground. Wet uppers stretch. Laces that felt snug at the start line will be loose by the second water obstacle, and a sliding foot blisters far faster than a tight one. Retie after the first water crossing - it costs 15 seconds and saves the last three miles.
5. Ignoring the sock. People spend $140 on shoes and race in the free cotton pair from a previous event. The sock is half the drainage system.
Does any of this change for a late-summer or early-fall race?
Yes, and mostly in the direction of taking drainage more seriously.
Water temperature drops well behind air temperature. A September course can have warm air and genuinely cold water, and cold, wet feet lose sensation - which means you stop noticing the hot spot that is becoming a blister until it is already one.
Mud gets stickier as the season turns. Cooler ground holds moisture longer, so the mud is heavier and clings more. A shoe that sheds mud is now doing two jobs, and open mesh helps with both.
Your feet swell less in cool weather than in heat, which subtly changes fit. If you sized up for a summer race, the same shoe may be slightly loose in October. Loose plus wet is the blister combination.
Bring a dry pair for afterwards. Not performance advice - just the difference between a good day and a miserable drive home. Wet feet in cooling air get uncomfortable fast, and a plastic bag for the race pair keeps your car intact.
FAQ: OCR Shoe Questions, Answered
Should I drill my own drainage holes?
People do, and it works on shoes with a thin midsole. Use a small drill bit through the forefoot and heel from the inside out, and expect to void any warranty. Test the tap-test result before and after so you know it actually helped.
Do I need dedicated OCR shoes or will trail shoes work?
A lightweight, low-stack trail shoe with an open mesh upper covers most courses well. The dedicated OCR models mainly add drain ports and a stickier rubber for wet obstacles - useful, not essential for a first race.
What about taping my feet?
It helps, but only if you tape before the feet get wet. Adhesive on damp skin fails within a mile. Tape known hot spots at home, and use a thin, stretchy tape rather than a rigid one.
TL;DR:
- Water weight costs you continuously; tread only matters in short bursts. Prioritize accordingly.
- Run the 60-second tap test. Under 10 seconds is excellent, over 30 means the shoe is a bucket.
- Never race waterproof shoes on a course with water obstacles - the membrane traps water in.
- Thin synthetic or merino socks drain; cotton holds water and doubles your blister risk.
- Retie your laces after the first water crossing. Wet uppers stretch, and a sliding foot blisters fastest.
Go test the pair sitting in your closet right now. Sixty seconds at the kitchen sink will tell you whether the last race was your fitness or your footwear.
Keep Reading
This article is for general informational and styling purposes only. Fit, sizing, and product availability may vary.